The holiday season is here in Columbus! Our team has been out and about installing decorations throughout the city for the last six weeks or so, and it’s really looking festive out there! We’ve been busy decorating trees, fluffing the garlands, hanging up the wreaths, and plugging in all of the lights to celebrate this time of year.
The focal point of most holiday installs is of course, the tree(s). Our expert design team has mastered the art of the perfect look: a full tree topper, lots of lights, a cohesive decor theme, and lots of different textural elements throughout. Here are some best practices from the pros for decorating a tree that “wows.”
Step 1
Light your tree before you decorate! Don’t just conically wrap the outer edge of the tree with lights. Instead, start wrapping the light bundle at the base of the tree near the trunk. Weave the light strand out to the end of an individual branch and then back in again, working your way towards the top of the tree. The secret is to place the lights so they’re inside of the tree as well as on the tree branches. You’ll use more light strands this way, but the end result is stunning. Leave these lights on throughout the entire decorating process.
Step 2
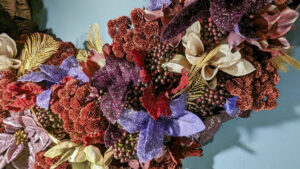
Start decorating at the top of the tree. Upon first glance, your eye will automatically start at the top of the tree and work its way down. At OGI, we embrace nontraditional toppers, using ‘picks’ (decorative, sparkly sticks or floral sprays) and use those to create a bouquet-like topper for the tree. We recommend using at least 2-3 different picks in this manner, if you’re feeling creative! If you have something like an angel or a star, you can still put that at the top, but think about adding picks around it to create extra visual drama.
Step 3
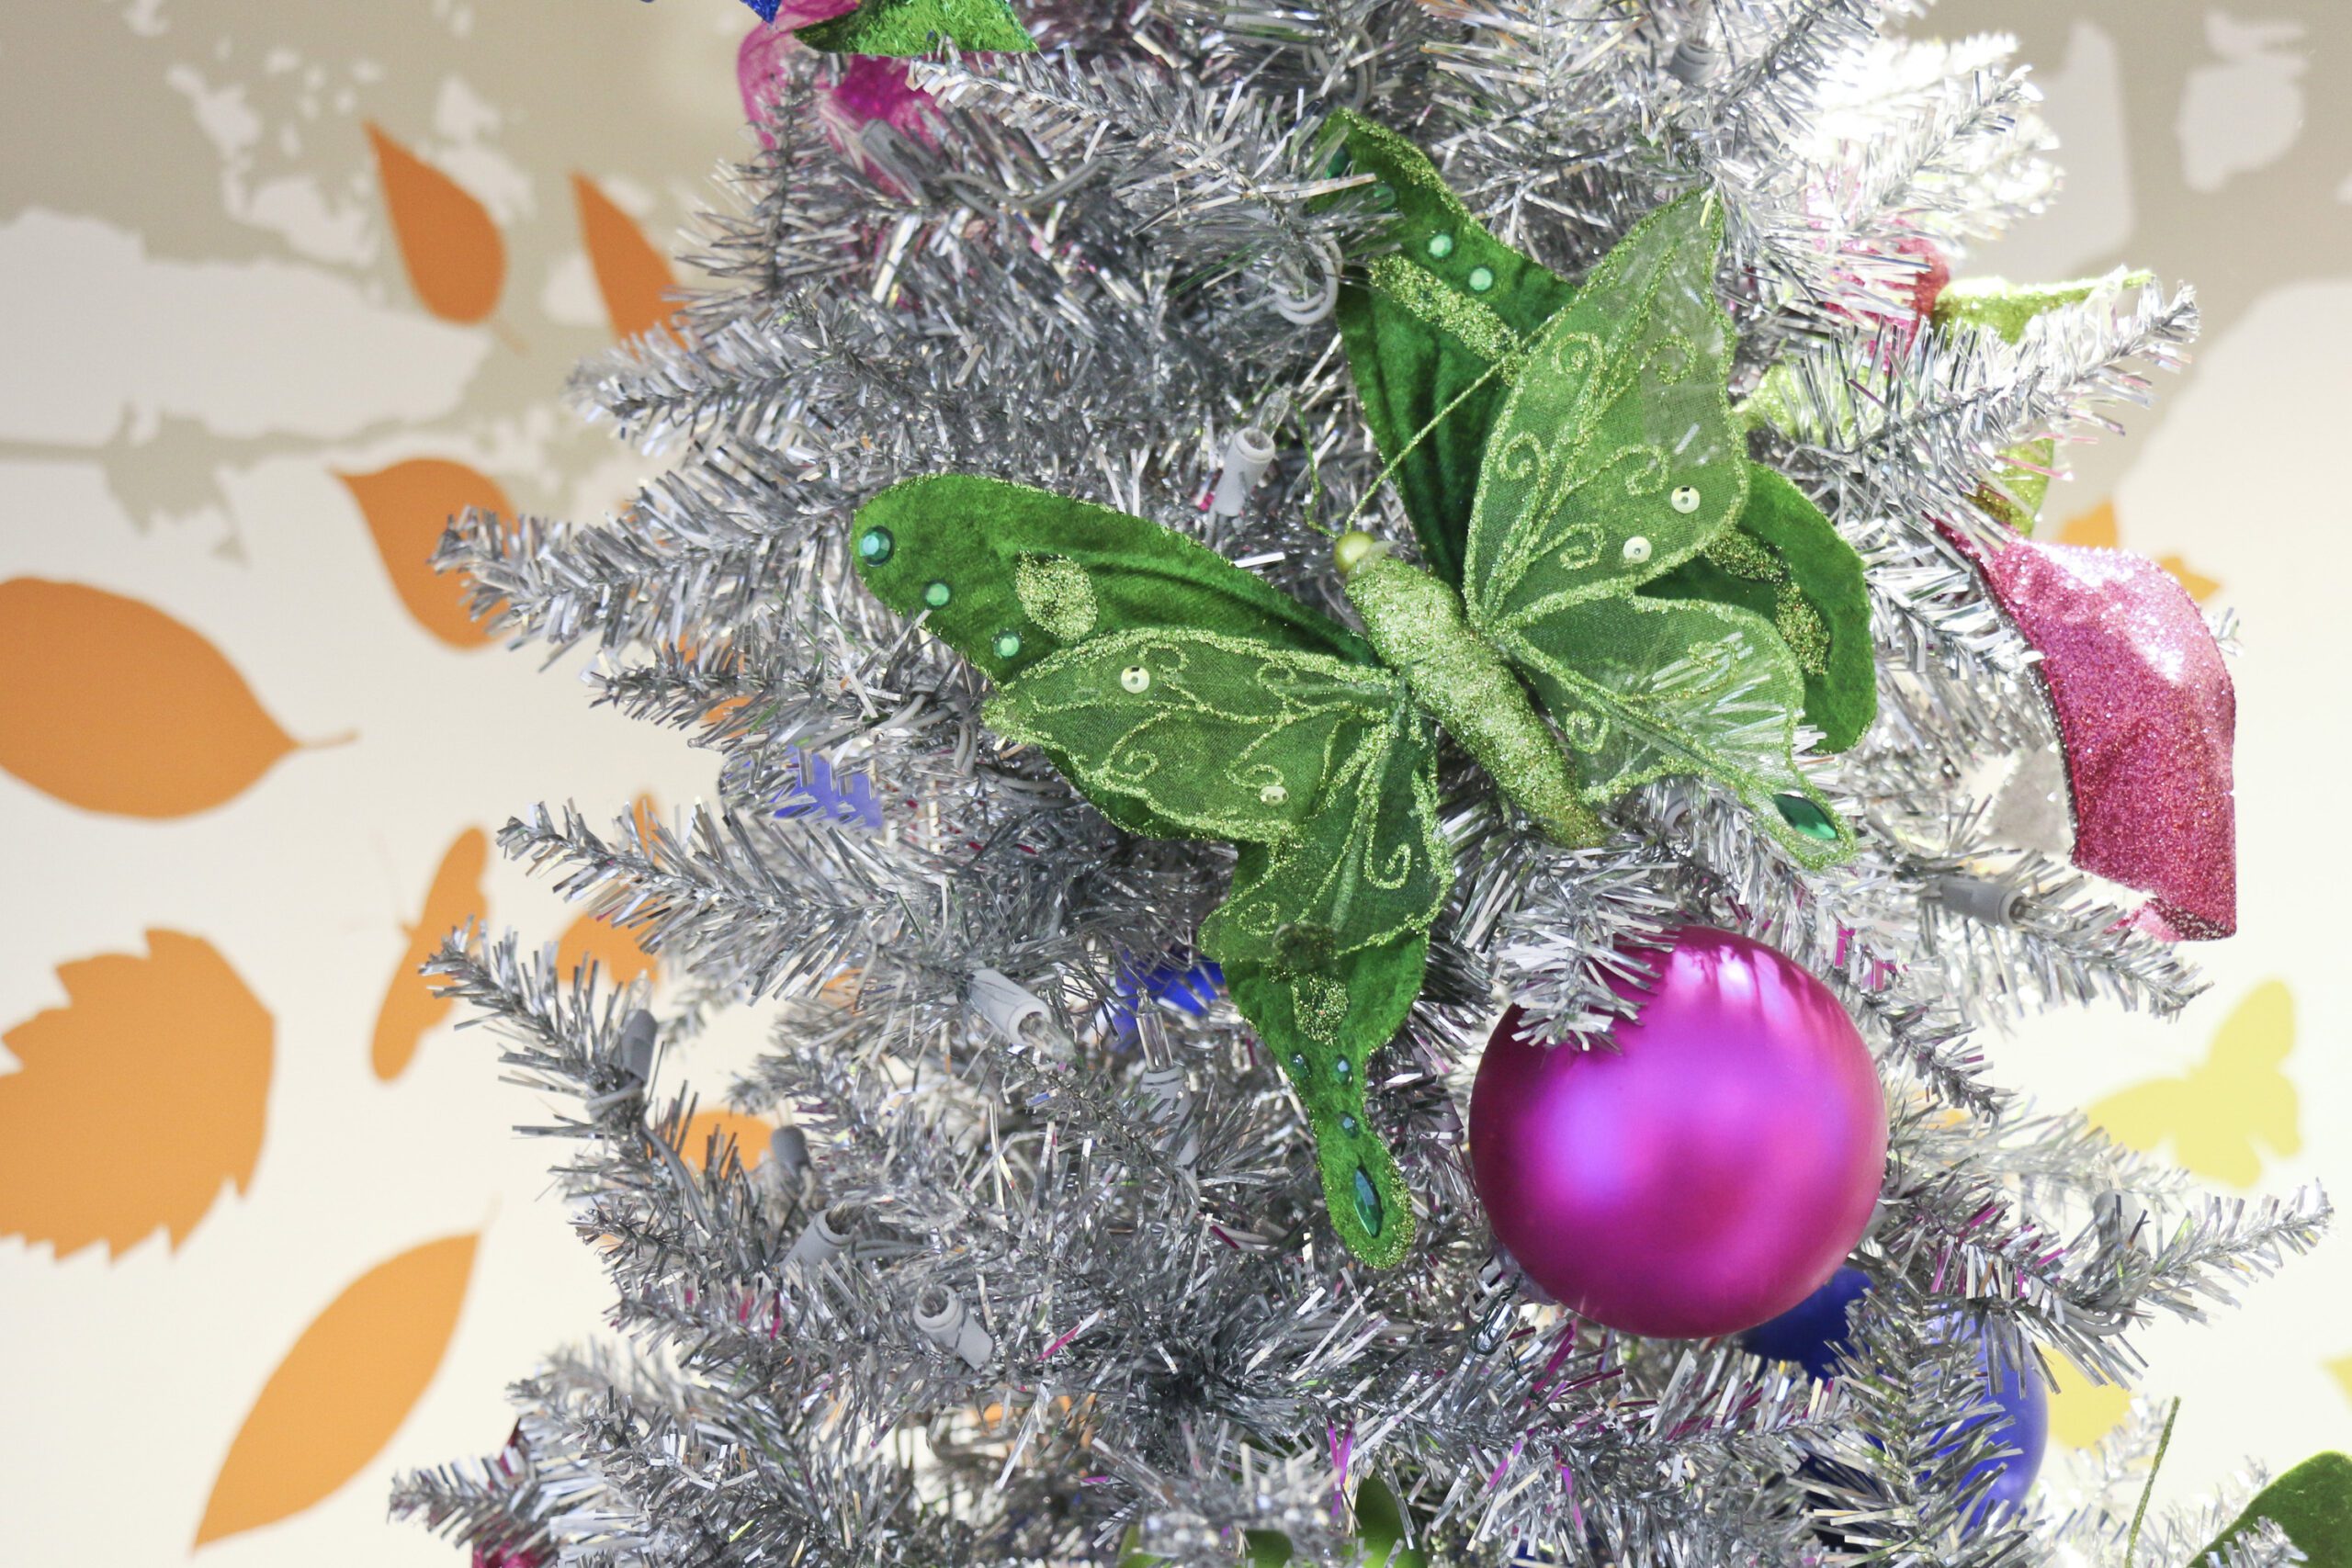
Embrace your theme. Start by placing the ornaments with similar colors (as in, all of the silver) first. Or if you have a bunch of similar elements, such as bells, place those bells first. Then you can space them out around the tree to make sure all of the pieces are evenly dispersed. Always use larger, heavier ornaments towards the bottom of your tree, and smaller ornaments towards the top. Do step back and look at the tree as you’re decorating–we cannot emphasize this enough!
Step 4
Don’t be afraid to incorporate your personal ornaments into a larger theme. Use your favorite ornaments or your family heirloom ornaments, but add in bulk commercial ornaments to tie the tree together. Whether it’s a color or shape that you like, using the same ornaments interspersed with your personal ornaments creates cohesion in the design. Try to embrace different textures, colors and patterns. Have little ones or pets running around the house? Shatterproof ornaments are a lifesaver!
Step 5
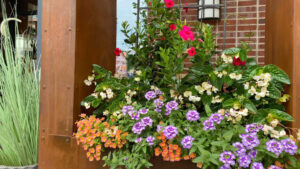
Think beyond the tree itself. When considering tree decor, think about how to tie those colors, patterns, ribbons, and picks into décor throughout the entire house. Use similar picks or colors in a mantel arrangement or a centerpiece. Put them in a wreath on the front door or in containers of cut greenery outside. Bring the elements of the Christmas tree throughout the rest of the house to create a complete design scheme.
We hope this has sparked some creativity! If you’re looking for additional inspiration, check out the pizza-themed trees at Little Italy Ristorante in Groveport, the elegant displays at The Athletic Club of Columbus, or the sophisticated scarlet and light grey trees at The Blackwell Inn on OSU’s campus. Happy Holidays!